

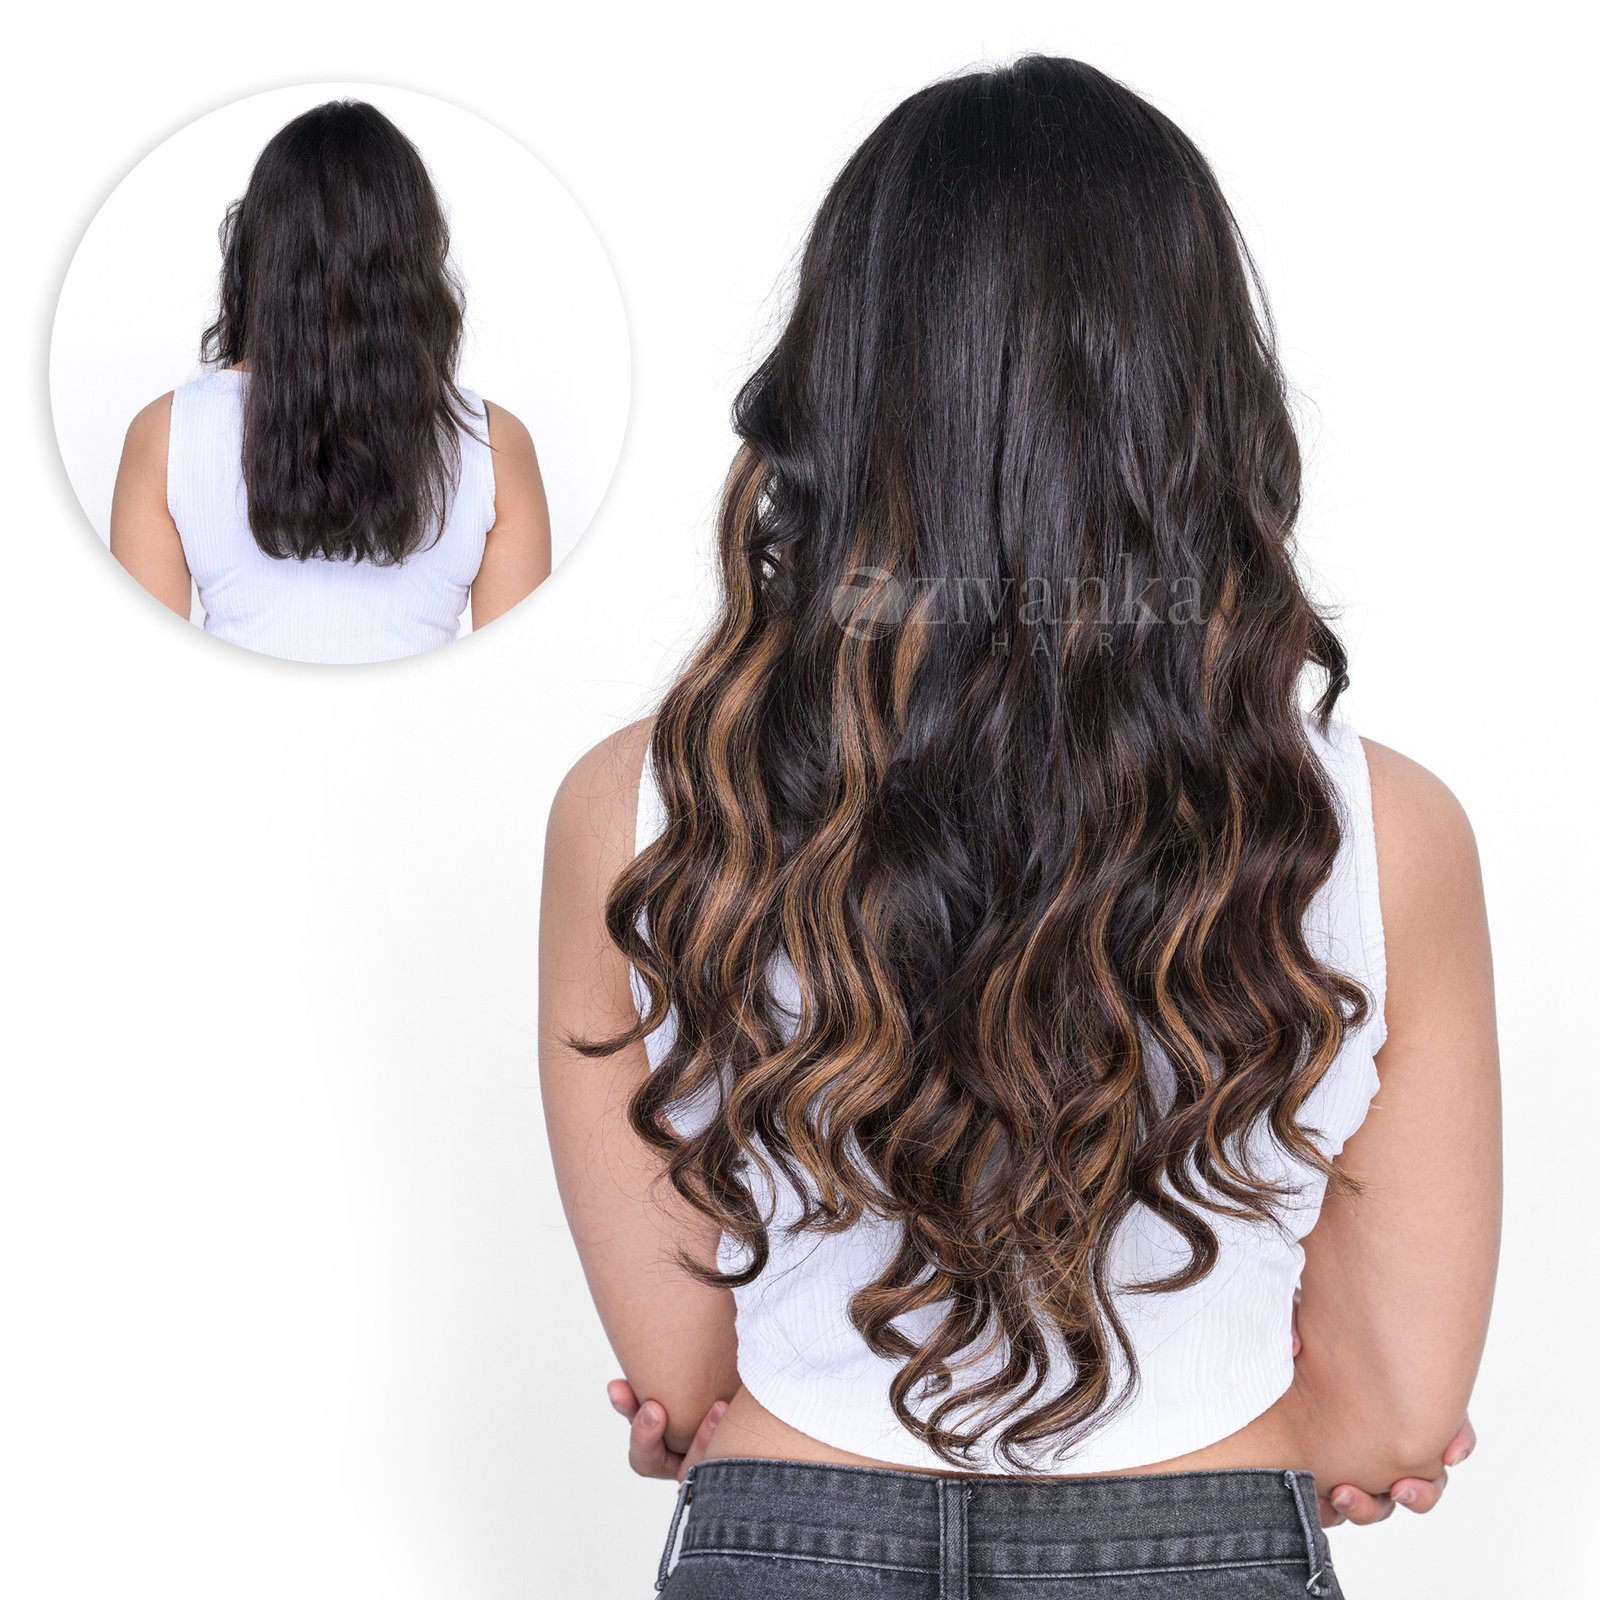
A 7-set of clip-in extensions is the full-transformation kit: seven wefts in graduated widths that turn fine or shoulder-length hair into a voluminous, salon-finished look in under ten minutes. The first installation takes a little longer while you learn the map — after that it becomes muscle memory. Here’s the complete step-by-step.
What’s in a 7-Set?
Seven wefts in three width groups: the widest pieces for the back of the head, medium widths for the sides, and the narrowest for the temples and finishing. Zivanka 7-sets come in classic lace and narrow lace constructions, all in 100% Virgin Remy human hair that you can heat-style with your own.
Before You Start: 3-Minute Prep
- Brush your hair through — no tangles, no products at the roots
- Have ready: a tail comb for sectioning, 3-4 sectioning clips, and a mirror you can see the back of your head in
- Open all the clips on all seven wefts now — it’s faster than fumbling mid-install
- Fine hair? Lightly tease each section’s roots before clipping for extra grip
The Installation Map: Bottom to Top
- Section one — the nape. Draw a horizontal parting about 3 cm above your hairline at the back. Clip everything above it out of the way. Take your narrowest weft, clip the centre first, then the ends. Tug gently — it should feel firm.
- Section two — mid-back. Drop another 3-4 cm of hair. Attach a wide weft the same way: centre clip, then outer clips.
- Section three — upper back. Drop the next section, attach your second wide weft. This is where most of the visible volume comes from.
- Sections four and five — the sides. Above each ear, part a clean horizontal section and attach a medium weft on each side, angled slightly downward toward the face for natural fall.
- Sections six and seven — the temples. The two smallest wefts go highest, near the temples, filling face-framing volume. Keep them low enough that your top layer covers them generously.
- Release and blend. Let your top hair down over everything, shake your head, and comb through gently with fingers first, then a wide-tooth comb.
The Blending Pass
Installation is half the job; blending is the other half. Check yourself in daylight or bright light: no weft edges visible when you turn your head, no obvious “shelf” where extensions start. If lengths look too separate, curl your hair and the extensions together in soft waves — mixed curls hide transitions better than straight styles. First time wearing extensions much longer than your hair? A one-time blending trim from your stylist makes every future wear effortless.
Removal: 60 Seconds, Done Right
- Work top to bottom — temples first, nape last
- Open every clip on a weft fully before lifting it away — never pull a closed clip
- Detangle each weft gently from the ends up before storing
- Store flat or on a hanger, in a carrier bag, away from sunlight
Troubleshooting
A weft feels loose within an hour
The section had product on it, or the clip closed on too little hair. Re-do that one section: clean hair, light tease, clip closed on a solid pinch of hair.
I can feel the wefts when I lean back
They’re sitting too low on the nape. Move the bottom weft up 2 cm — comfort in a chair matters more than an extra centimetre of coverage.
The top looks thin compared to the new volume below
Classic sign you’d benefit from a volumizer at the crown or — if scalp shows at the parting — a hair topper instead of more extensions.
Frequently Asked Questions
Do I have to wear all seven wefts?
No — that’s the beauty of a set. Two or three wefts for everyday volume, the full seven for events. Most owners settle into a “daily three, party seven” pattern.
How long does installation take?
Fifteen to twenty minutes the first time, five to eight once practised. Removal is about a minute.
Can I tie my hair up with a 7-set in?
Low and mid-height ponytails, braids and half-up styles all work. Very high, tight ponytails may expose the lowest wefts — check the nape in a mirror first.
Wavy or straight — which set should I buy?
Match your natural texture. Both are real human hair, so you can restyle either — but starting from your own texture means zero styling on lazy days.
Five Styles That Love a Full Set
- Soft Hollywood waves: curl your hair and the wefts together in alternating directions — the transitions vanish completely
- The full-volume blowout: what a 7-set was born for; round-brush your top layer over the wefts
- Thick side braid: braids showcase added volume better than any open style and hide wefts by construction
- Half-up half-down: the tied top layer sits over the weft line — secure and invisible by design
- Low luxe ponytail: gather everything at the nape and wrap a strand around the band
Keeping Your Set Beautiful
A 7-set worn a few times a week and cared for properly lasts years. The rhythm: detangle each weft after wear (ends first, working up), wash only every 15-20 wears or when product builds up, air-dry flat, and store all seven together in a carrier bag away from sunlight. Heat-style at 150-170°C with protectant, and give the set a deep-conditioning mask monthly if you style often. The cost-per-wear on a well-kept set drops to pocket change within the first year.
Pro Tips from Daily Wearers
- Number your wefts with tiny thread tags the first week — placement becomes automatic sooner
- Install in daylight near a window the first three times; artificial light hides blending misses
- Keep a “travel trio” — your three most-used wefts in the carrier bag pocket, ready for trips
- Photograph your best install from front, side and back — your reference for every future wear
- Let a trusted friend inspect once — a second pair of eyes catches what mirrors miss
Ready for the full transformation? Explore Zivanka’s 7-set clip-in collection — straight, wavy and balayage options, free shipping across India, COD, 3-month guarantee. New to clip-ins entirely? Start with our clip-in vs permanent comparison.